


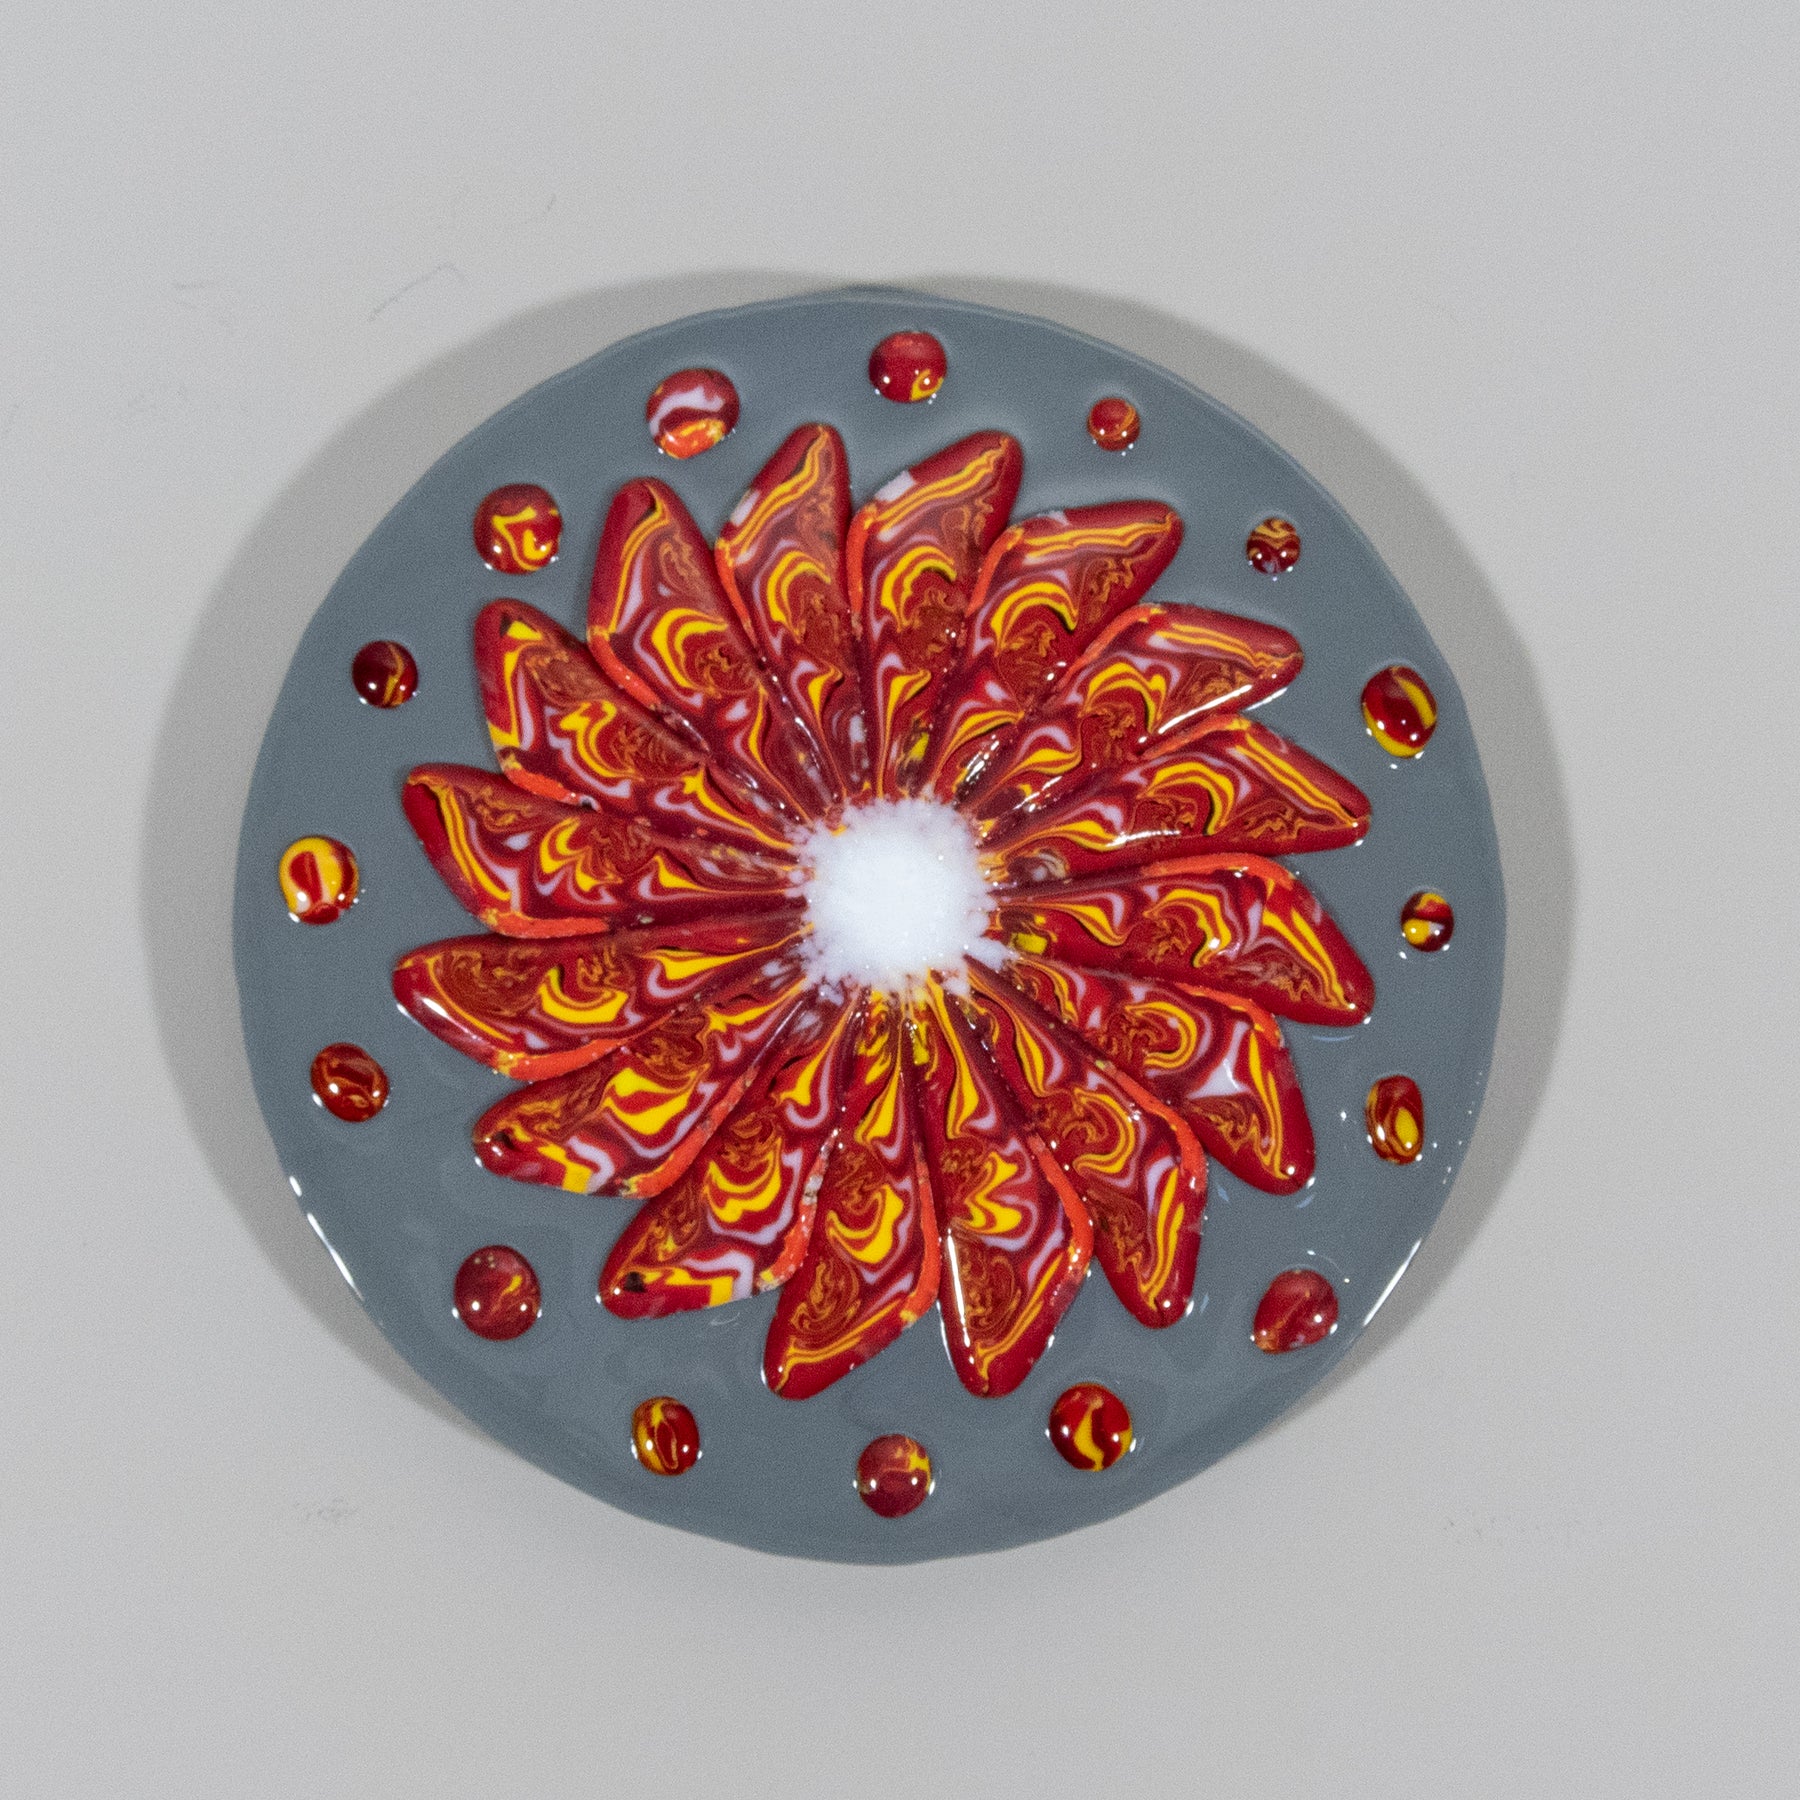
Rannuculus Pinwheel
Regular price $338.00Inspiration: Inspired by Rannuculus flower blooms in springtime. Its also called a pinwheel flower, adding whimsy with a pinwheel spinner design.
Artistic Process:
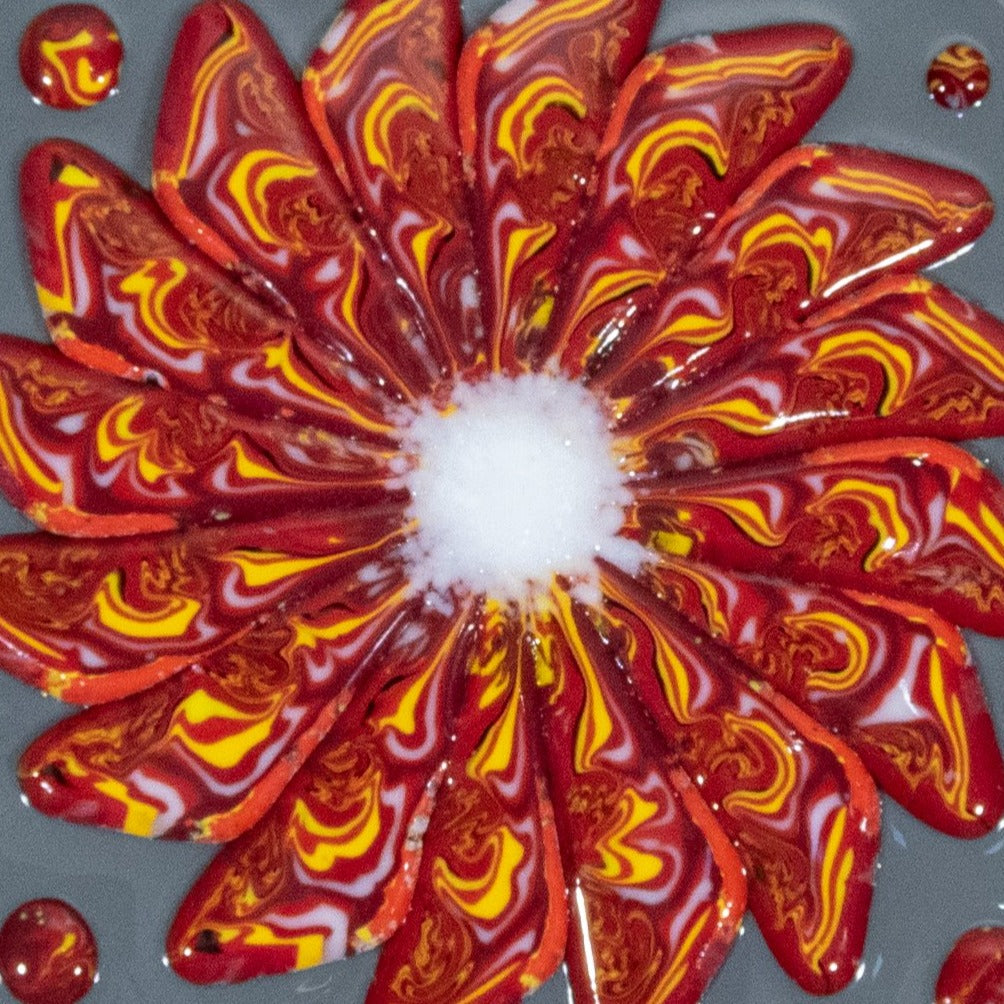
The background is 2 cut glass circles fused together first, then the flower petals, flower center and patterned petals along the edges were tack fused in a separate firing for texture and dimension.
The flower petals are made with pattern bars that are assembled in pairs for each petal, the patterned pebbles were made from cut up piecs of the pattern bars See Below for an explanation of a pattern bar. The center of the flower is made with ground glass.
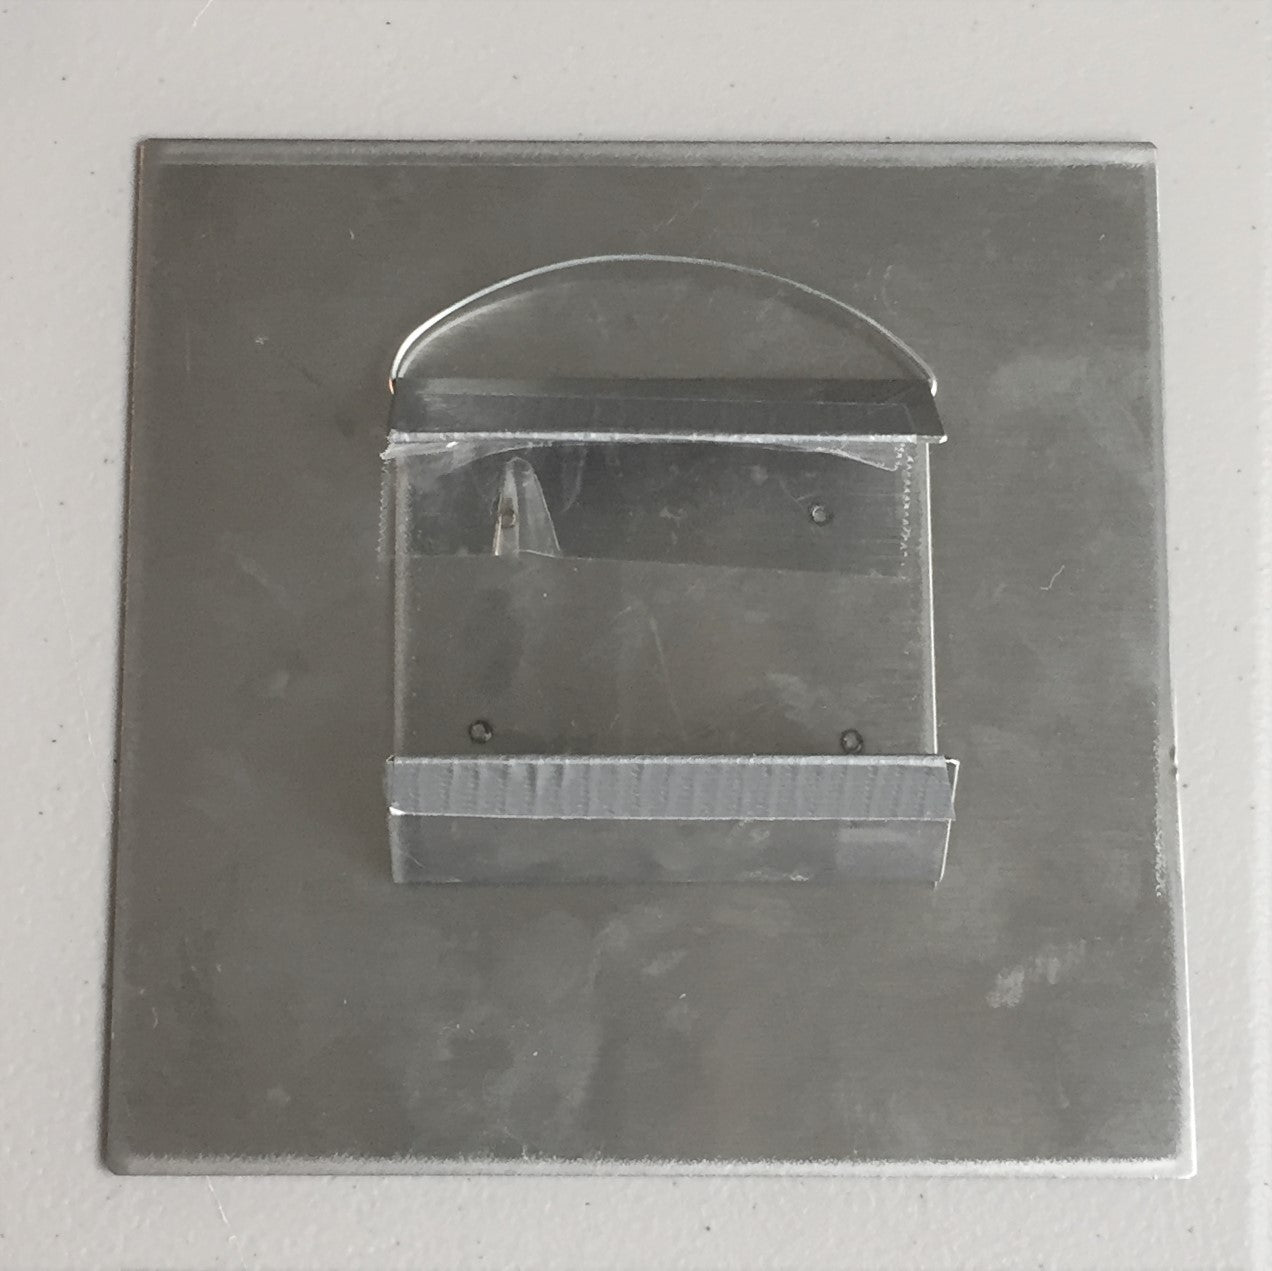
The artwork is mounted on hidden brushed stainless steel, wired for hanging with welded brackets to keep the artwork flat and straight on the wall with no tilting.
Dimensions: 11.75" wide x 11.75" tall x 2.5" deep
Making Pattern Bars
It takes several steps and kiln firing along with coldwork to make the pattern bars used to make this abstract art.
- My goal is to create organic flow of colors and patterns, so I start with my color choices and cut the glass to various sizes.
- The glass is stacked in a predesigned order on top of steel rods that are above a stainless steel form, in this case, an obtuse triangle shape.
- I use a specific kiln fusing schedule to melt the glass, avoid bubbles and get an organic flow. As the temperature in the kiln rises above 1500 degrees the glass will begin to melt and flow organically and fully flow through the rods at 1680 degrees Farenheit. It flows into the former which contains it and it gets very thick.
- After annealing, the pattern bar is thick and long. I first grind all the edges smooth on a lap grinder. The hot temperatores and containment against the fiber paper lining the former cause the edges to be rough.
- Then I slice the pattern bar with a tile saw. By keeping the slices in order, I can match up the slices into patterns. After slicing I study the patterns and shapes and determine how I want to incorporate them into art.
- Once I have decided on a design, I cut any additional glass required and assemble in the kiln for the next firing that fuses the pattern bars together.
